From Blurry to Brilliant: Effective Content Sizing for LED Displays
Having trouble getting your content files to look clear and properly on your display? In our daily encounters with countless screens, and with displays reaching higher resolutions, we tend to gravitate toward higher-resolution imagery and videos as the new norm. But what’s the difference between your new TV or laptop screens compared to your much larger LED display? And how could lower-resolution content work better? Let’s find out!
David Grotzinger on 6/11/2024
Categories: Venus Control Suite Training
Every Display is Picky!
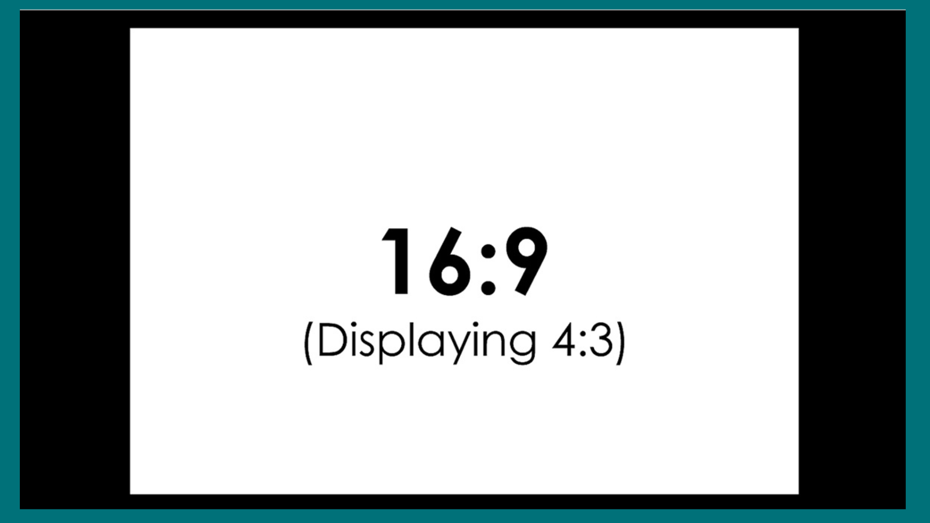
Have your ever tried watching your favorite 90s TV show on an HD screen? Your TV will most likely provide black bars on the sides to compensate for the lower resolution and different aspect ratio of the show, preventing it from stretching awkwardly. On larger screens, the show tends to look blurry and fuzzy as well. In contrast, a movie shot in 4K resolution looks fantastic on your TV!

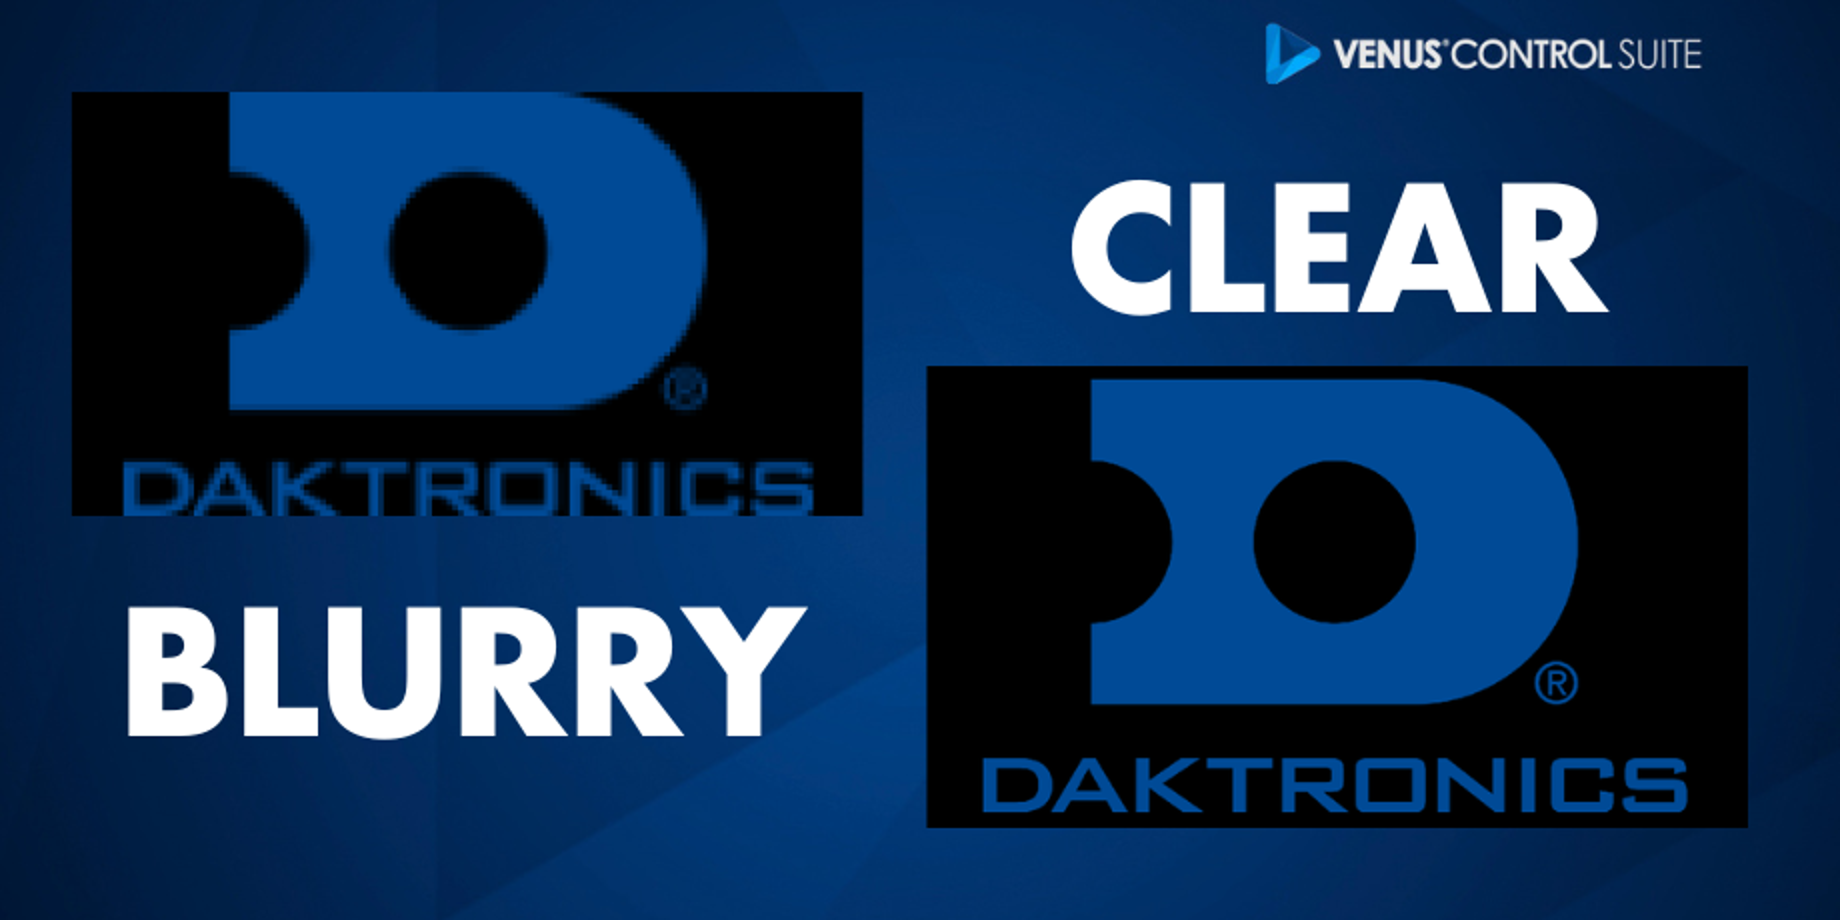
Now think of the inverse. With most LED installations typically under 600 pixels wide and 400 pixels tall, content in different aspect ratios or higher resolutions could result in similar black bars or make the content blurry and hard to see and read. Every display or screen can be a little picky when it comes to content – the magic lies in the size or resolution it was created in!
What Size Should You Create In?
We encourage you to use your whole display – A pixel for a pixel, if you will. Creating the content in the exact pixel size of your display will render the best results. The Best Practices for LED Displays Guide shows the most effective ways to create eye-catching content. Simplifying your messages, using cropped Imagery, and incorporating big, bold letters are recipes for success! Read more about sizing requirements in our blog, "Size Does Matter: Content Creation & Display Dimensions” .
Some Content is Still Blurry in the Display Size

When creating content, make sure the elements used or embedded are also appropriately sized. Even if you create the content to fit your display size, the logos, imagery, and videos embedded need to match your display’s pixels. For example, if you want to place a logo or image in the presentation, first identify where and how much space the element will occupy on your display, roughly estimating its size in pixels.
For full-screen centered logos or images that use the full height of the display, use your display height as a reference point. If your display is 200 pixels wide x 150 pixels tall try and download or resize the logo to 150 x 150. Using higher resolutions for the elements in the Web Editor or Content Studio might make them harder to see and fuzzier on the display. A good test is zooming your canvas out to 100% to see if elements and text are clear and legible. If you need to resize or crop elements, read more in our resizing blog and cropping article.
What's the Easiest Route for Content Creation
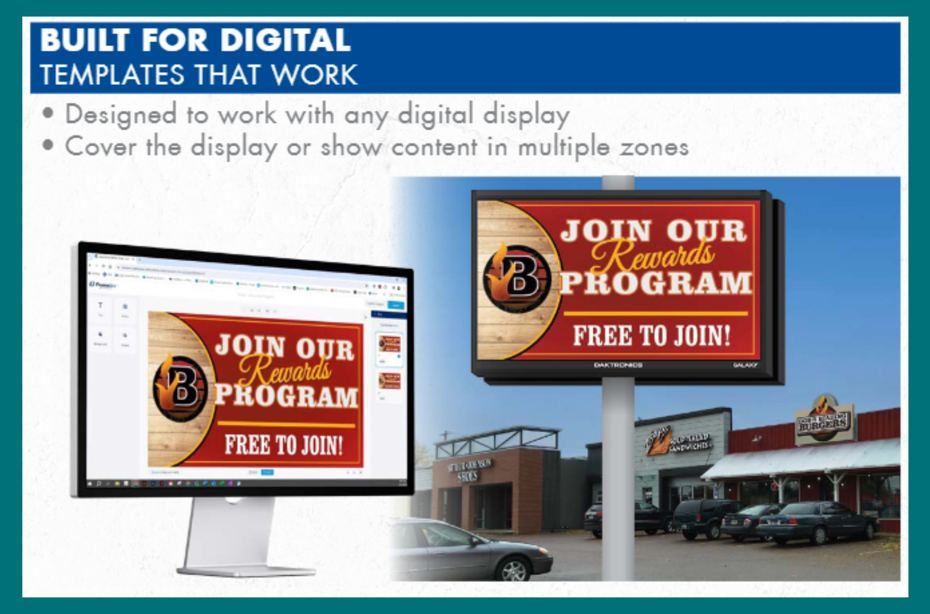
Look no further than FrameWrx! By utilizing FrameWrx many template options you can effortlessly create high-quality content for digital displays of any size. FrameWrx offers templates that can be resized to fit your custom digital display size and the availability to upload your brand assets for a consistent look across your content. This timesaving platform makes customizing your content easy and fast. It also offers compatibility with a variety of file formats for import or export.
Perfect Size Gets the Prize
Creating clear and visually appealing content for your LED display doesn’t have to be a challenge. By understanding the importance of resolution and properly sizing your elements, you can ensure your messages are always sharp and impactful. Utilize tools like FrameWrx to streamline your content creation process and make the most of your display. Remember, every pixel counts in making your display truly shine. Ready to elevate your content game? Share your thoughts in our Facebook group, and don’t forget to subscribe to our blogs to stay up to date!