Using the Timeline Part 4
TIMELINE TIPS AND TRICKS This is a fourth post in our Using the Timeline series. If you missed the previous Timeline posts, view them on our Venus 1500 blog site. TIP: HIDING AND UNHIDING OBJECTS When there are numerous objects on a layout, you may find it useful to hide some of them to focus […]
Daktronics Commercial Software Training on 7/16/2014
Categories: Venus 1500 Training

TIMELINE TIPS AND TRICKS
This is a fourth post in our Using the Timeline series. If you missed the previous Timeline posts, view them on our Venus 1500 blog site.
TIP: HIDING AND UNHIDING OBJECTS
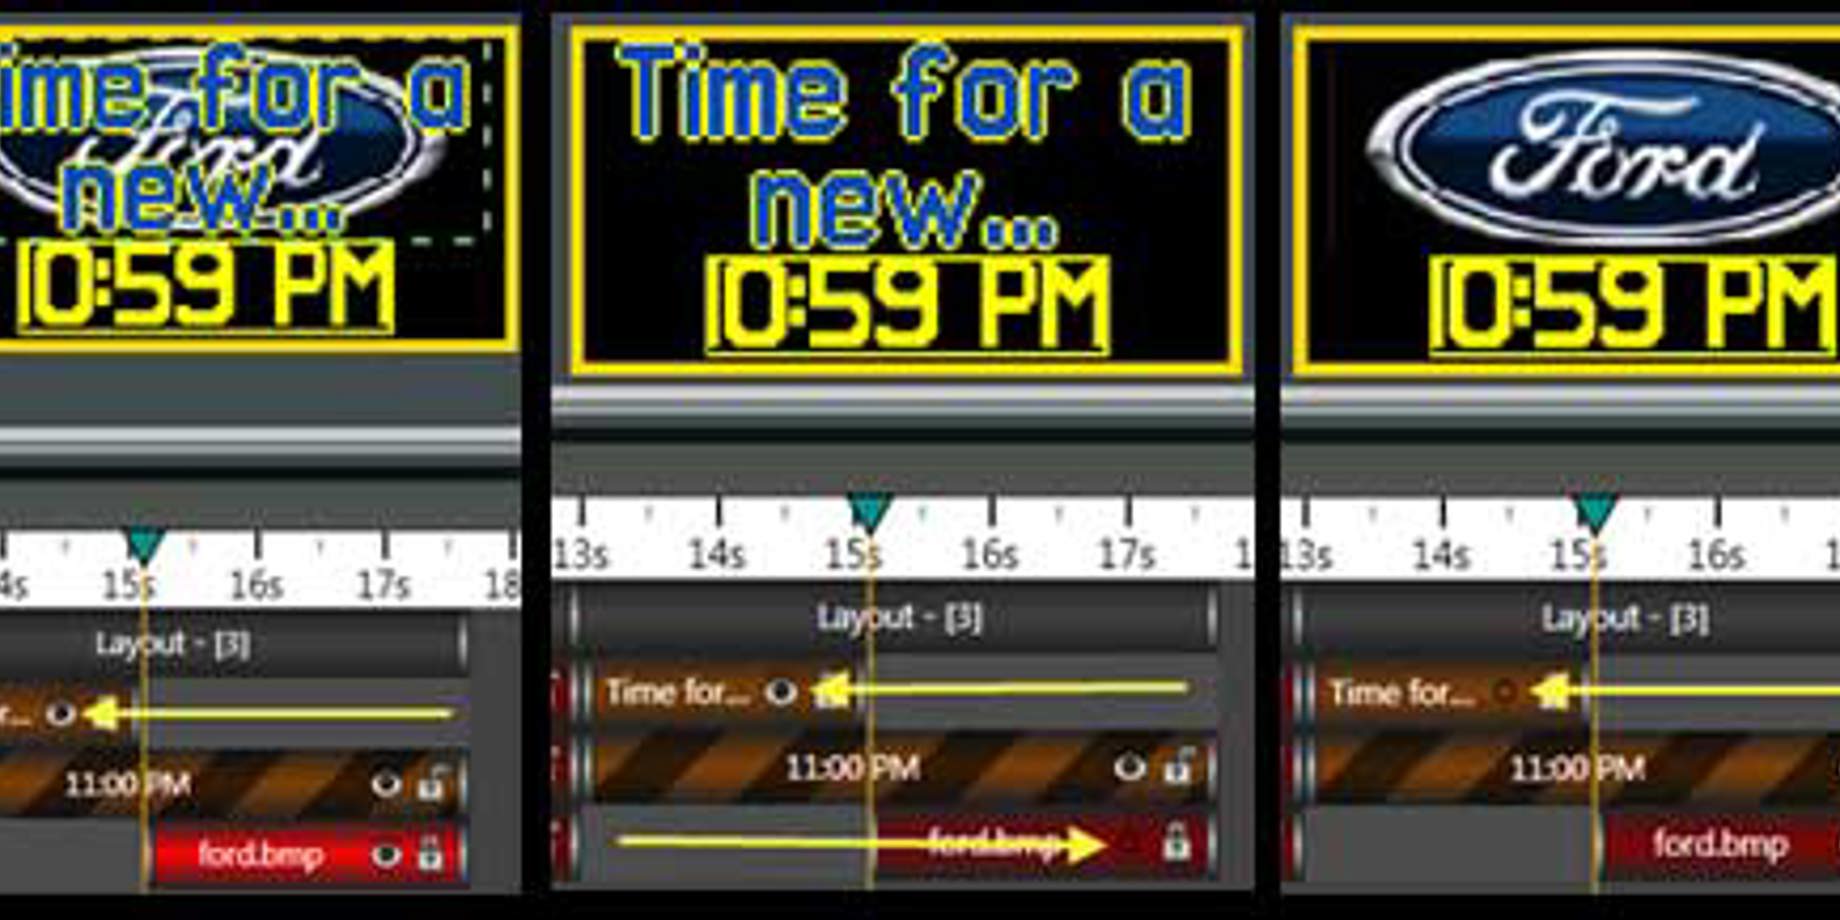
When there are numerous objects on a layout, you may find it useful to hide some of them to focus on certain elements. To hide an object, click the eye icon that appears to the right of its name on the Timeline. Click the eye icon again to unhide it.
TIP: LOCKING OBJECTS
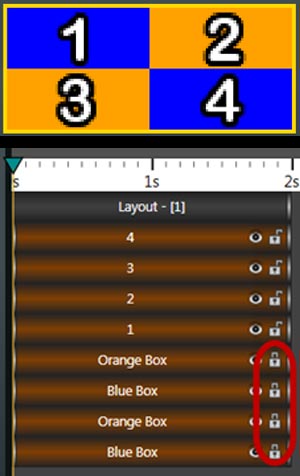
Lock objects to prevent them from being accidentally moved or modified while you are working with other items on your layout. To lock an object, click the padlock icon in the Timeline. The closed padlock indicates an item is locked.
To edit the item, you will need to unlock the padlock by clicking again. In the example below, we have four colored text boxes lined up to create a pattern. We then added a text box for the numbers. We will lock the colored text boxes on the Timeline so we don’t accidently move them when we edit our text boxes.
TIP: ZOOMING THE VIEW OF THE TIMELINE
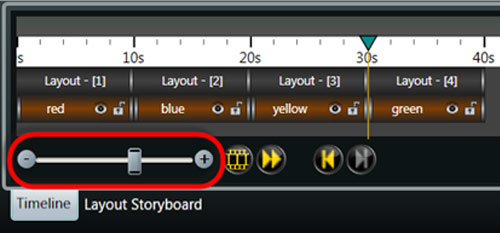
To get a closer look at a portion of the Timeline, drag the zoom slider (located in the lower left corner of the Timeline) to the right. To zoom out, drag the zoom slider to the left. You can adjust the Timeline from 1/10th of a second to days, depending on your need.
NOTE: If you don’t see the timeline in your Content Studio to enable Timeline View, follow the simple instructions in “How do I view/disable/enable Timeline in Content Studio.”
See our next post!


