Using the Content Studio Timeline Part 1
Creating a presentation using the Timeline When you first install Venus 1500 v 4, Content Studio is in basic user mode. At the bottom of the Content Editor, you will see the Layout Storyboard with a thumbnail of each layout and its hold duration. But once you’re more confident and want to be a bit […]
Daktronics Commercial Software Training on 6/25/2014
Categories: Venus 1500 Training
Creating a presentation using the Timeline
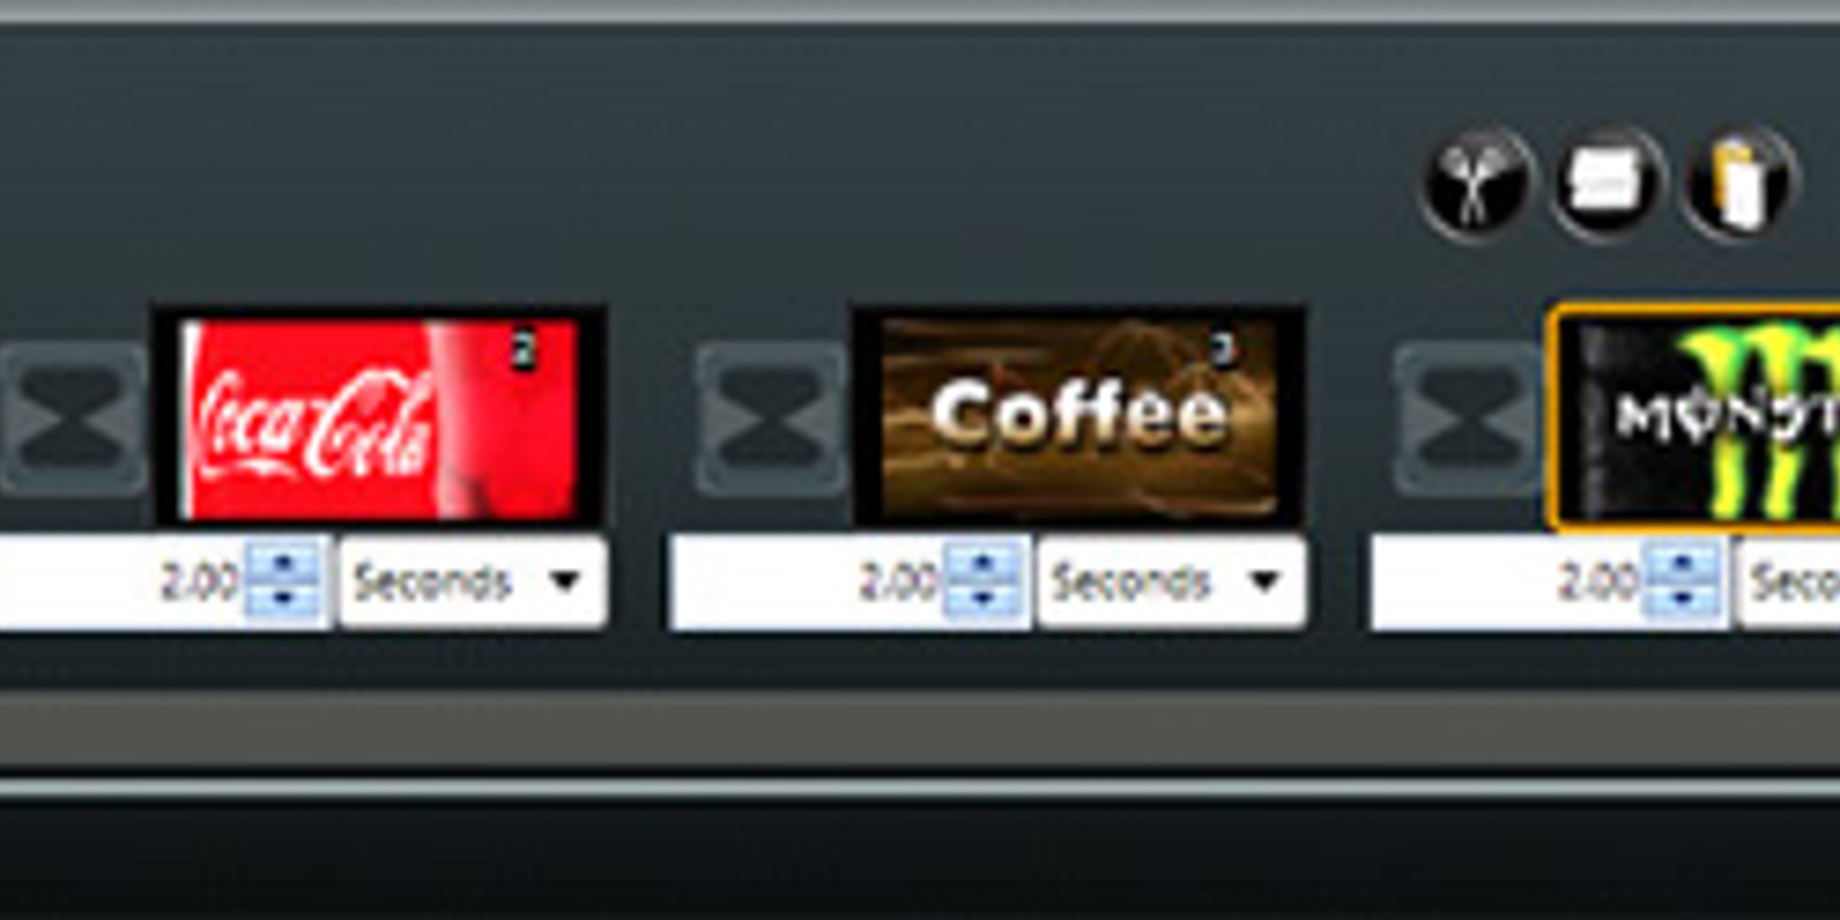
When you first install Venus 1500 v 4, Content Studio is in basic user mode. At the bottom of the Content Editor, you will see the Layout Storyboard with a thumbnail of each layout and its hold duration.

But once you’re more confident and want to be a bit more creative, you can change your view to a more advanced mode, the Timeline View. To enable the Timeline View, follow our Knowledge Base article, “How do I view/disable/enable timeline in Content Studio?”
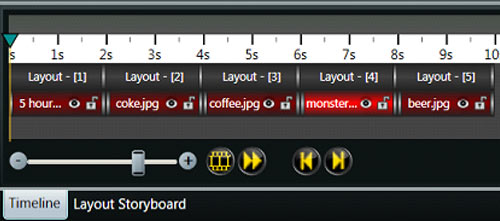
Use the Timeline to arrange and animate objects so they appear in the right place at the right time. Here’s an example:
- Enable the Timeline, if needed (see above).
- Create a presentation
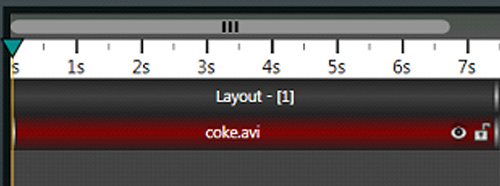
- Use the Quick Insert group on the Home Tab, Insert Tab, or Media Library to import a video into the presentation. I imported the Coke video from the Daktronics Media Kit.
- Preview the video to see how it plays out (View Tab, click Play to view, then Stop when done).As you add each element, it will appear in the timeline.
- Add a text box, enter the price and format the text.
- Add another text box and enter “12 oz. bottle,” and format the text.
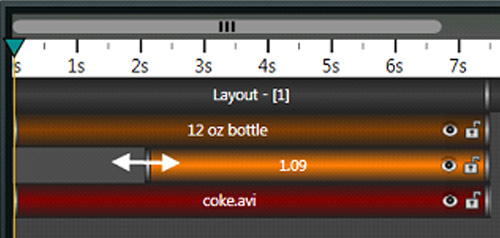
3. Now the fun begins! Mouse over the end cap of the price element bar in the Timeline until you see the double arrow (see below). While holding down the left mouse key, click/drag the price to the right, until it is at the point in the Timeline where you want that element to appear.
Preview it again to make sure the price isn’t coming on the layout until after the Coke bottle starts to shrink. Stop the preview and adjust as needed.
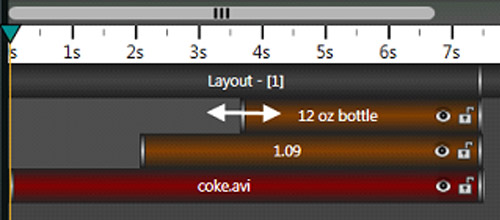
4. Next, we’ll change when the text, “12 oz. bottle,” appears by clicking/dragging it to the right to about the 3.5 second mark on the timeline (see below). Preview, and if needed, stop the preview and adjust.
5. Save your presentation. That’s it!
Don’t miss our next post! More Timeline tips

