Small Display Help 2 – Scrolling a Graphic
Use Venus® 1500 control software to run graphics, even on a smaller display. Sometimes, with smaller displays, you may have a graphic that just doesn’t reduce down to fit on one layout and still keep the image’s integrity. A solution for this is to scroll the graphic over multiple layouts. Round logos and portrait-type images […]
Daktronics Commercial Software Training on 11/19/2014
Categories: Venus 1500 Training

Use Venus® 1500 control software to run graphics, even on a smaller display. Sometimes, with smaller displays, you may have a graphic that just doesn’t reduce down to fit on one layout and still keep the image’s integrity.
A solution for this is to scroll the graphic over multiple layouts. Round logos and portrait-type images are examples of when you may choose to scroll a graphic.
SETTING UP THE IMAGE TO SCROLL
- Re-size the graphic to match the width of the display. TIP: use a third-party program like Photoshop or http://pixlr.com to re-size the width of your graphic to match the pixel width of your display and save the re-sized graphic to your computer.
- In Content Studio, go to Media Item on the Home ribbon and select Picture. Browse to your re-sized graphic and click Open.
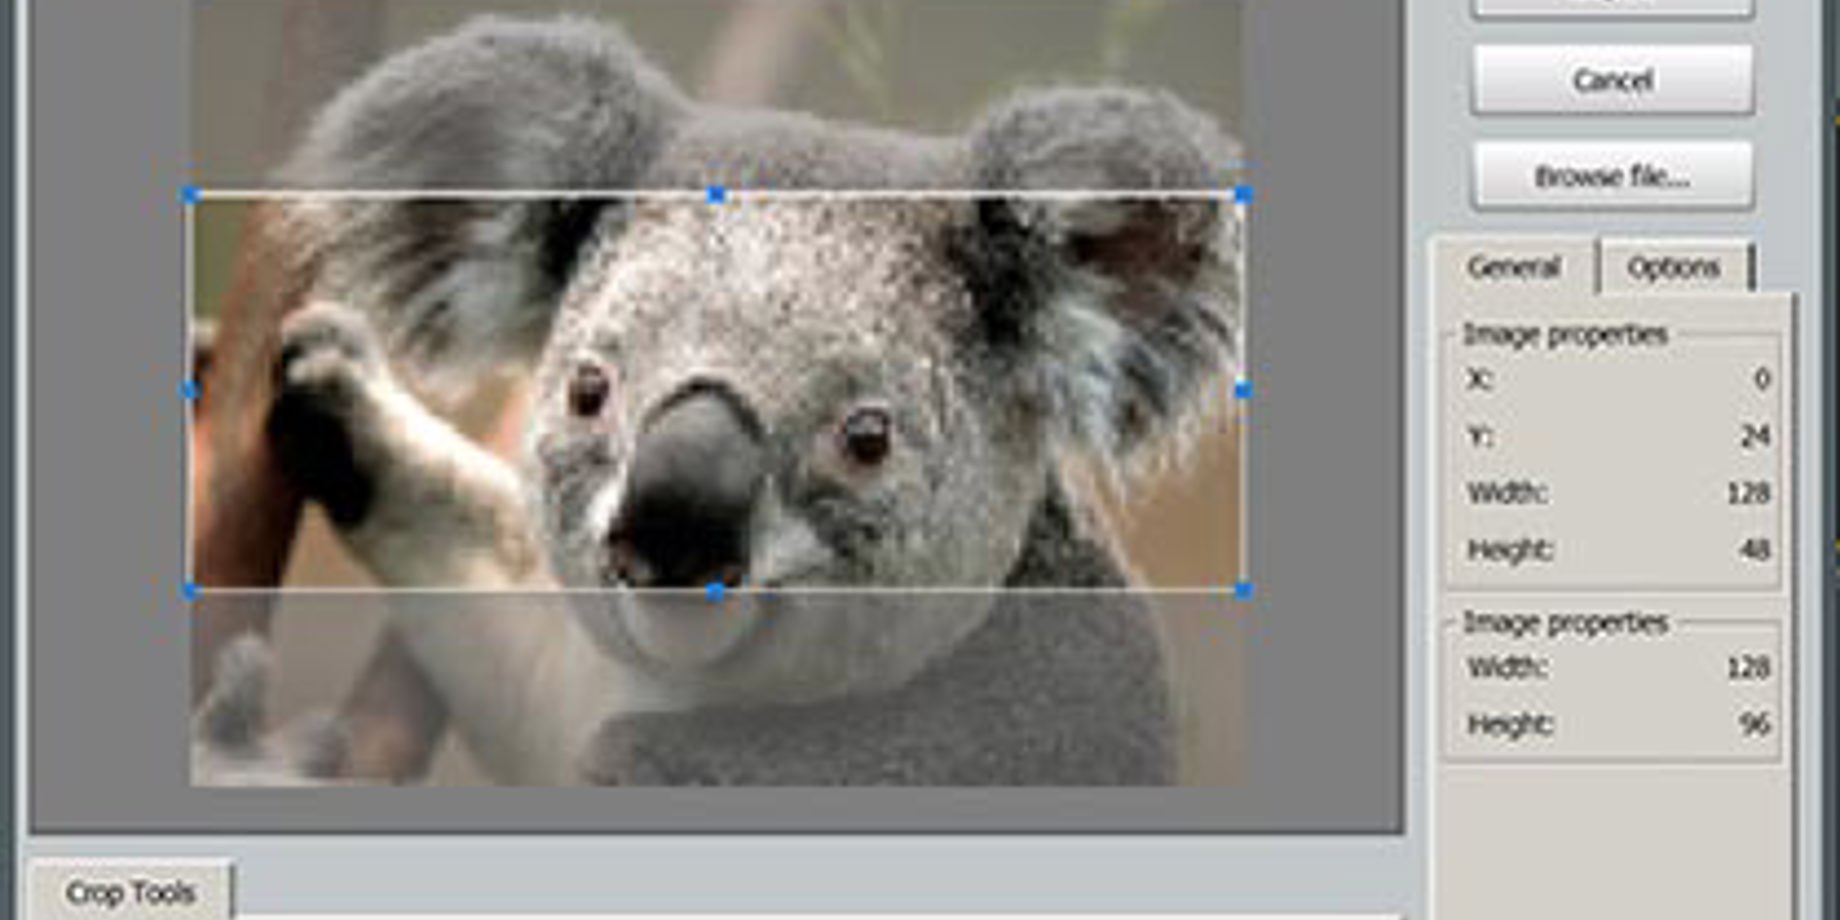
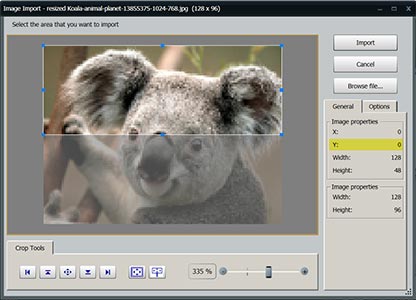
- In the image import window, click on the “select a portion of the image that matches the display dimensions” button.
![Figure-1-Koala]()
- Click and drag or use the arrow keys on your keyboard to move the white box to the top of the image. The Y coordinate should be at zero. Import the first portion of the image onto your layout. If your display is 48 pixels high, you have just imported the first 48 rows of pixels.
![Figure-2-Koala]()
- Add a second layout to your presentation and repeat steps 2 and 3.
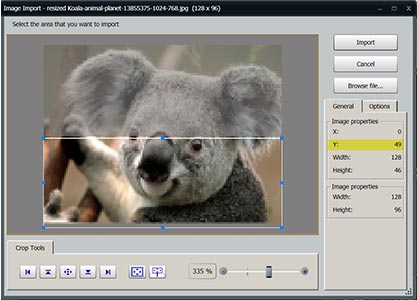
- Move the image resize window to the next portion of the image that needs to be imported using the arrow keys on the keyboard. You will be importing the next set of 48 pixels, so look at the Y coordinate. It should read 48. Import the next portion of the image onto layout 2.
![Figure-3-Koala]()
- Import the image again, if needed. If the full image has been imported using only 2 layouts, a third layout may be added to push the image up as it scrolls.
TO MAKE THE IMAGE SCROLL
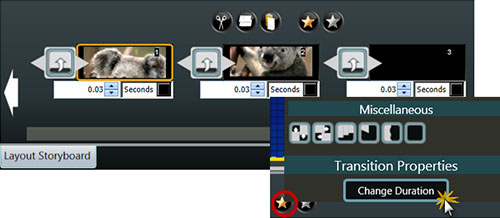
- On the Layout Storyboard, click the gold star and change the transition for all layouts to “scroll up.”
- In order for it to appear as if the entire image is scrolling together, change the duration of each layout to 0.03 seconds for M3 displays or 0.10 for M2 & M4 displays.
![Figure-4-Koala]()
TIP: disable the timeline for this task. 0.03 or 0.10 seconds is easier accomplished in the Layout Storyboard view.
TIP: Slow down the speed of the scroll by clicking the Gold Star in the storyboard and selecting the Change Duration button. The larger the number, the slower the transition.
View the finished presentation. The video below shows our koala, plus a store logo and a pop bottle to give you some other ideas.
See worksheets about scrolling and other topics at www.daktronics.com/venus1500learning


