Layouts Within Layouts: How to use the Paging Feature
Hey you! Yeah, you! Have you ever wondered what that paging button in Content Studio was? Or, have you ever wondered if you could play multiple ads in the same layout with a static message next to those ads? If you said, “Yes,” to either of these questions, then you really hit the jackpot today because we’re going to […]
Daktronics Commercial Software Training on 5/20/2015
Categories: Venus 1500 Training

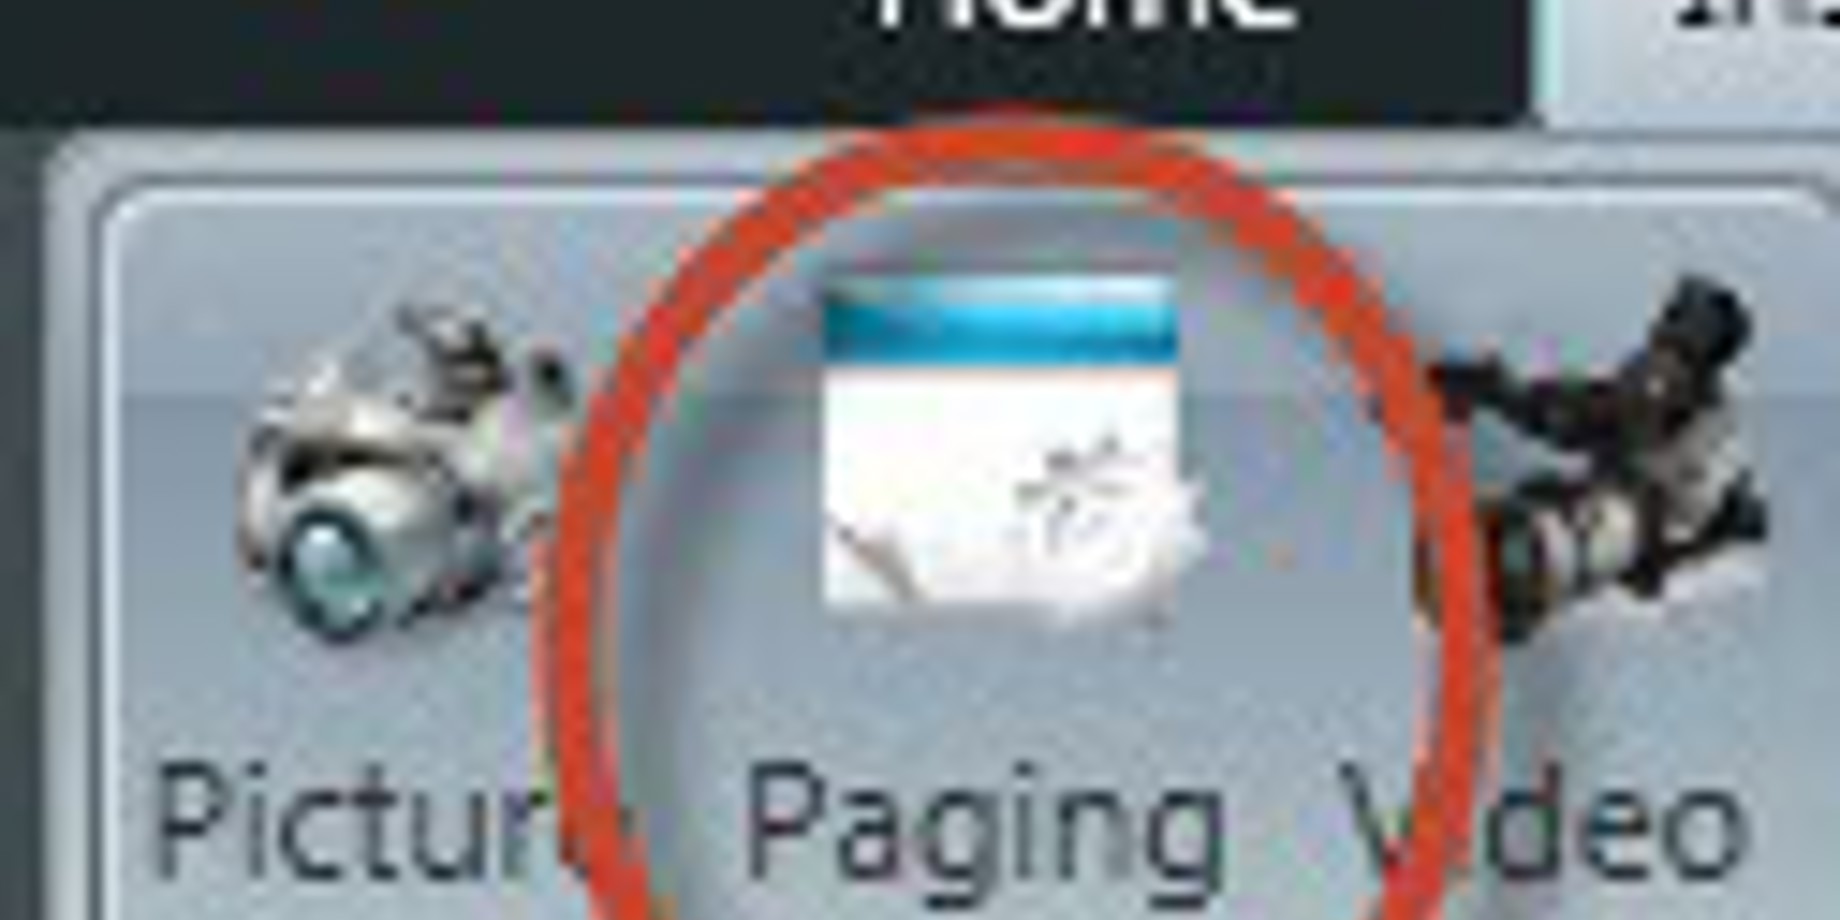
Hey you! Yeah, you! Have you ever wondered what that paging button in Content Studio was? Or, have you ever wondered if you could play multiple ads in the same layout with a static message next to those ads?
If you said, “Yes,” to either of these questions, then you really hit the jackpot today because we’re going to answer both!
Paging is a very useful tool found in the Insert Tab. It allows you to create multiple pages within the same layout. You could use this for announcements, daily specials, event calendars, awards and honors, and other promotions.
First, click on the Paging button, then take your mouse to the layout, and click and drag the page to your desired size and location, similar to using a text box.
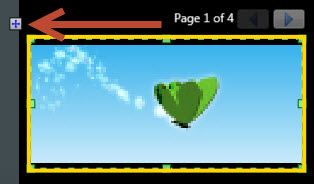
Now you will see a golden outline around your page. As long as you can see that outline, you can add content to the page, relocate the page, or make any other changes you desire. Also notice that you have a new Pages Tab on the top of the page giving you the option to Add, Insert, or Delete pages.
See a new Page Storyboard tab on the bottom of Content Studio next to your Layout Storyboard? From there, you can see smaller representations of each added page and choose similar options as in your Layout Storyboard. Options include rearranging the order of the pages, as well as cut, copy, and paste. Click outside the golden outline, and all these new features will disappear.

Now, go ahead and add a graphic/picture to your first page by double-clicking or dragging on it in the Media Library. You can also import a graphic or picture from the Quick Insert Panel on the Home Tab or the Media Panel in the Insert Tab. Then click on your new Pages tab, Add A Page, and repeat until you import all the graphics/pictures you need .
Once you have your pages squared away, add a text box to the open area of your layout. Don’t overlap with your paging element, and then add your static message.
As always, remember to zoom down to 100% on your zoom bar to make sure everything is clear and readable before saving and publishing to your display.
Knowledge Base Article: How do I make a paging element in Content Studio?
Thanks for reading our blog post!


