Keeping Tabs on Your Tabs: The Insert Tab (Content Studio)
Learn all about the Insert Tab in Content Studio for Venus 1500 V4.
Daktronics Commercial Software Training on 2/21/2018
Categories: Venus 1500 Training
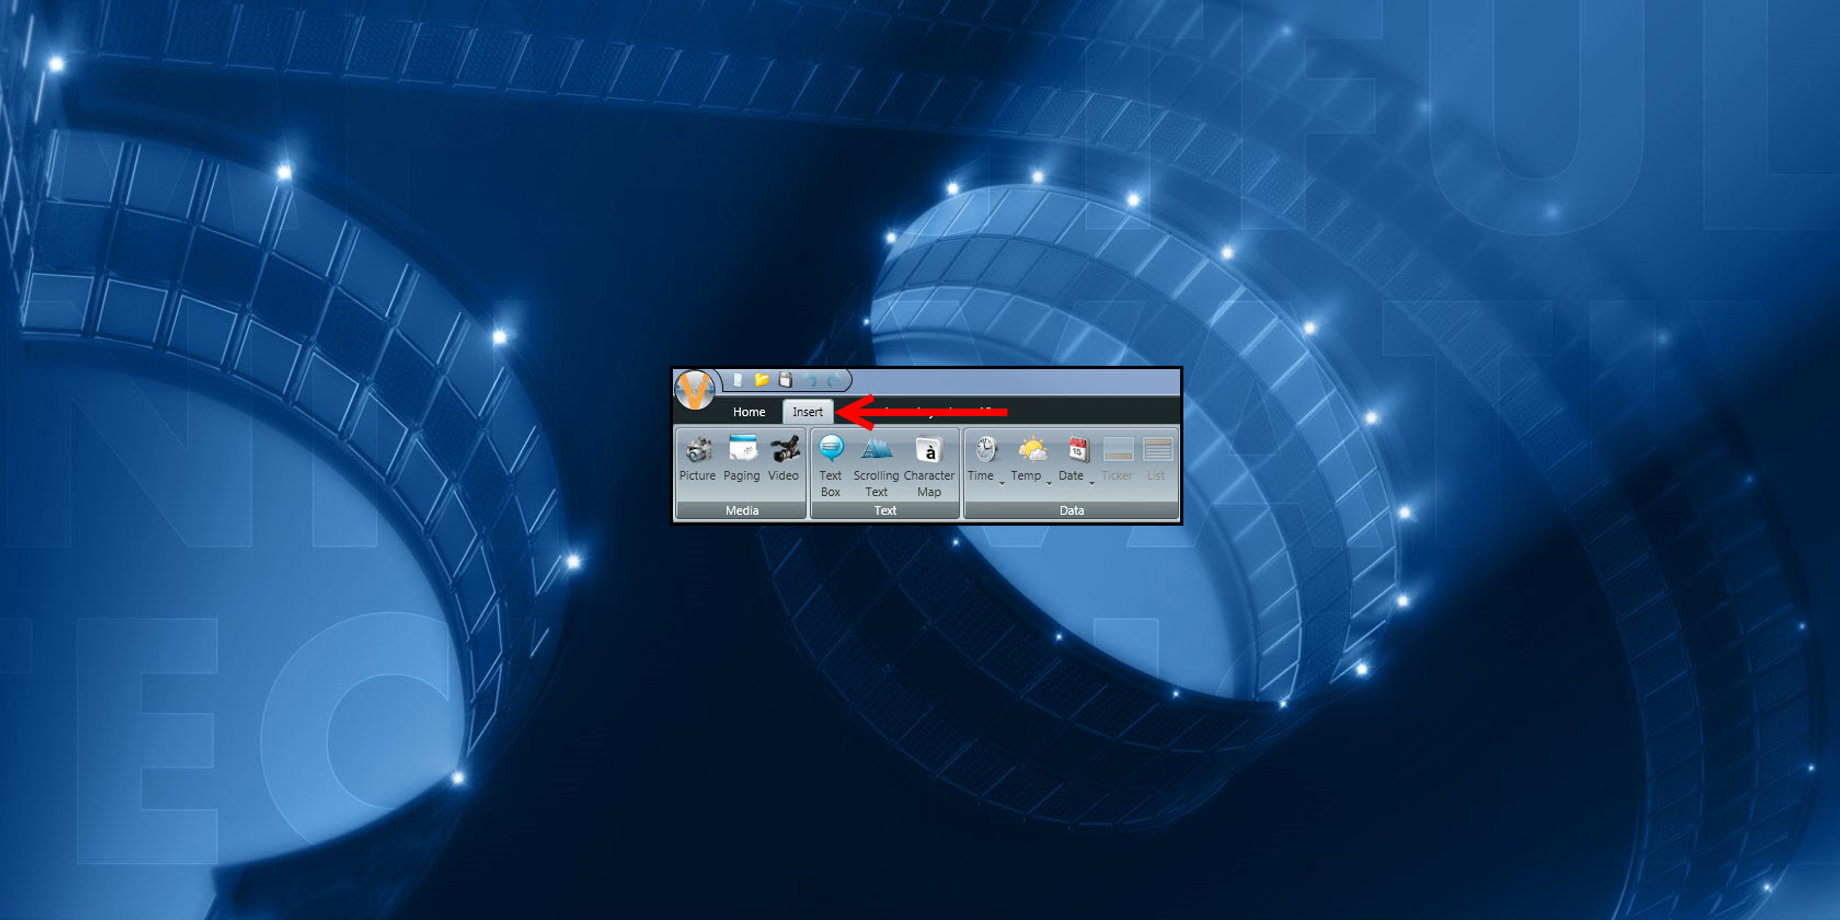
Welcome to the 4th entry in our ongoing series about all the different tabs found in the Venus 1500 Hub and Content Studio. This week, we will be reviewing the Insert Tab in Content Studio. If you haven’t read last week’s post yet, we highly recommend doing so before moving on.
Keeping Tabs on Your Tabs: The Home Tab (Content Studio)
The Insert Tab is the 2nd tab found in the ribbon running across the top of Content Studio and is located between the Home Tab and the Format Tab.

The Insert Tab does just what its name implies. It allows you to insert pictures and videos, create text boxes and scrolling text, as well as produce time, temp and date messages, among other things. Let’s take a closer look, shall we?
MEDIA

The Media Group contains three buttons, the first of which is Picture.
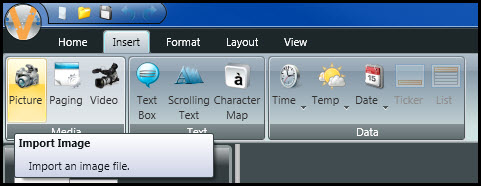
When you click on the Picture button, it allows you to browse your computer to find pictures to import into layouts in Content Studio. Certain requirements must be met when it comes to importing pictures. So, please be sure to read the Knowledge Base articles below for more information.
- What are the requirements for creating graphics or images in Venus 1500?
- How do I import images or videos into Content Studio?
The Paging button allows you to create paging elements within a Content Studio presentation.
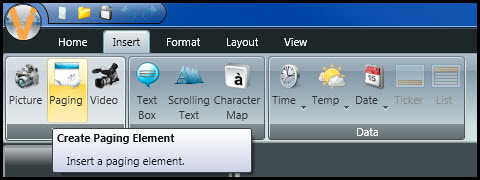
Paging lets you create multiple pages within the same element. A few examples to use for paging would be announcements, daily specials and awards or honors. We have previously blogged about paging, so be sure to click the links below to learn more!
The third and final button in the Media Group is the Video button.
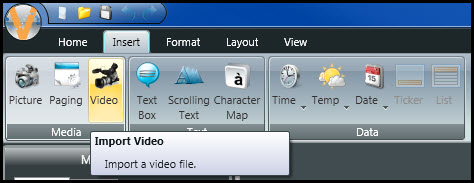
The Video button allows you to browse your computer to find videos to import into layouts in Content Studio. As with pictures, certain requirements must be met before you can import a video. Take a look at the following Knowledge Base articles to learn more about these specifications.
- What are the requirements for creating animations or videos in Venus 1500?
- How do I import images or videos into Content Studio?
Trainer Tip: Did you know that you can also click on Picture to import a video as a picture? That’s right, you can import a single frame of a video as a picture into a layout. The best part is, we already wrote a blog on how to do just that, so be sure to click the links below to learn how!
- Importing a Video/Animation as a Still
- How do I import a still image or frame from a video in Content Studio?
TEXT

The Text Group also contains three buttons, the first of which is Text Box.
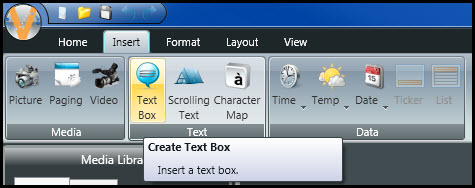
You can click on Text Box to insert text into your layout. You can find an additional Text Box button in the Home Tab, which we covered last time. The best part about using text boxes is that it allows you to easily move your text to any spot on your layout by dragging and dropping!
You can insert text directly into a layout by simply double-clicking into it. But, you’ll have to use a text box for other occasions, specifically when placing text over a picture or video. You see, typing text directly onto a picture or video can result in the text ending up behind the picture or video, making it invisible. Read the below Knowledge Base articles to learn how to use text boxes.
The second button in the Text Group is the Scrolling Text button.
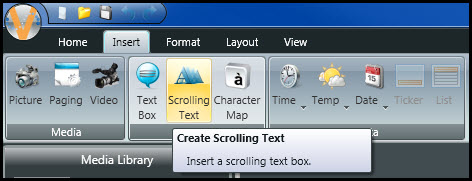
Scrolling Text lets you create messages that move across your screen from left to right, right to left, top to bottom or bottom to top. People commonly use scrolling text messages to share information that may otherwise be too long to fit into a single layout.
Another reason people use scrolling text messages is to add some movement to their display. Did you know that people will notice messages with movement more often than messages that do not have movement? Also, people tend to remember messages that have movement better than messages without.
Just keep in mind that in some places, due to local or city ordinances and/or zoning restrictions, you may not program movement on your display, so be sure to consider that first.
To learn more about Scrolling Text, click on the links below! Have fun!!
- How do I create a scrolling text message in Content Studio?
- Celebrate Graduation with Creative Graphics!
The final button found in the Text Group is the Character Map button.
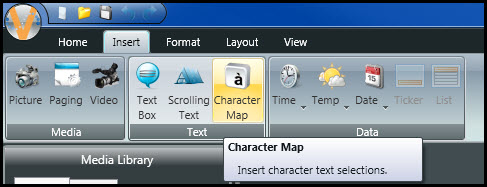
The Character Map gives you access to all the different characters available within each font family. Most of these characters are obviously letters and numbers; however, you can also find a lot of special characters like symbols and arrows to point passersby in your direction!
The best place to find special characters is within the Graphic Venus font. Simply click on the Character Map button, then scroll down and choose Graphic from the drop-down menu.

You will find items like planes, trains, and automobiles (which also happens to be a great movie!). Choose from different shapes including hearts, and holiday-themed graphics such as Jack-O-Lanterns and Christmas presents!
While these characters will add character (no pun intended!) to any display, we primarily recommend them for people with smaller displays who aren’t able to use pictures or videos. Be sure to click the links below to learn all the cool things you can do with the character map!
- Small Display Help – Using the Character Map to Add Interest
- I didn’t know I could do that! Part One: Scrolling Characters
DATA

We have made it to the final panel in the Insert Tab. The Data Group gives everyone the ability to create Time, Temp and Date messages.
It also gives those of you with GP4 model displays the ability to create XML/RSS data feeds. Not all displays support the Ticker and List options. They will be grayed out, so you won’t have to worry about them.
Time, temp and date messages are a staple on most people’s displays, and many people like to run them more frequently than the rest of their messages.
Keep a few things in mind when creating time, temp and date messages. While you are creating them in Content Studio, the correct time, temp and date will not pull in. Instead, you will see placeholders there to show you an example of what to expect. Also, you must have a temp sensor installed on your display to pull in the temperature field.
Finally, once you have created your message, never click into the data fields to make any changes. If you do, it will display what you typed in, rather than updating to the correct time, temp and date.
As far as Data goes, you can use the Ticker and List buttons to help create Data Feeds.

Feeds can be used to pull in data, like weather forecasts, news, sports scores, and stock market information, among other things. Feeds can be found online, through local news stations, or from companies like ScreenFeed that create and provide feeds for a fee. Daktronics does not create or provide feeds, but we can help you set them up!
To learn more about utilizing the buttons on the Data Group, be sure to click on the links below!
- How do I create a Time, Temp, Date message in Content Studio?
- How do I create a feed in Content Studio?
We hope you found all this information about the Insert Tab helpful! If you enjoy reading our blog, be sure to click on the orange “Receive Email Updates” button on the right side of the page to subscribe.
Thanks for reading!


