Keeping Tabs on Your Tabs: The Content Tab (Venus 1500 Hub)
Welcome back to the blog, everyone! We posted about the Home Tab in the Venus 1500 Hub last year (see below). Today, we will begin a new series that focuses on the other tabs in the Venus 1500 Hub, as well as all the tabs in Content Studio. This series will teach you about all […]
Daktronics Commercial Software Training on 1/17/2018
Categories: Venus 1500 Training
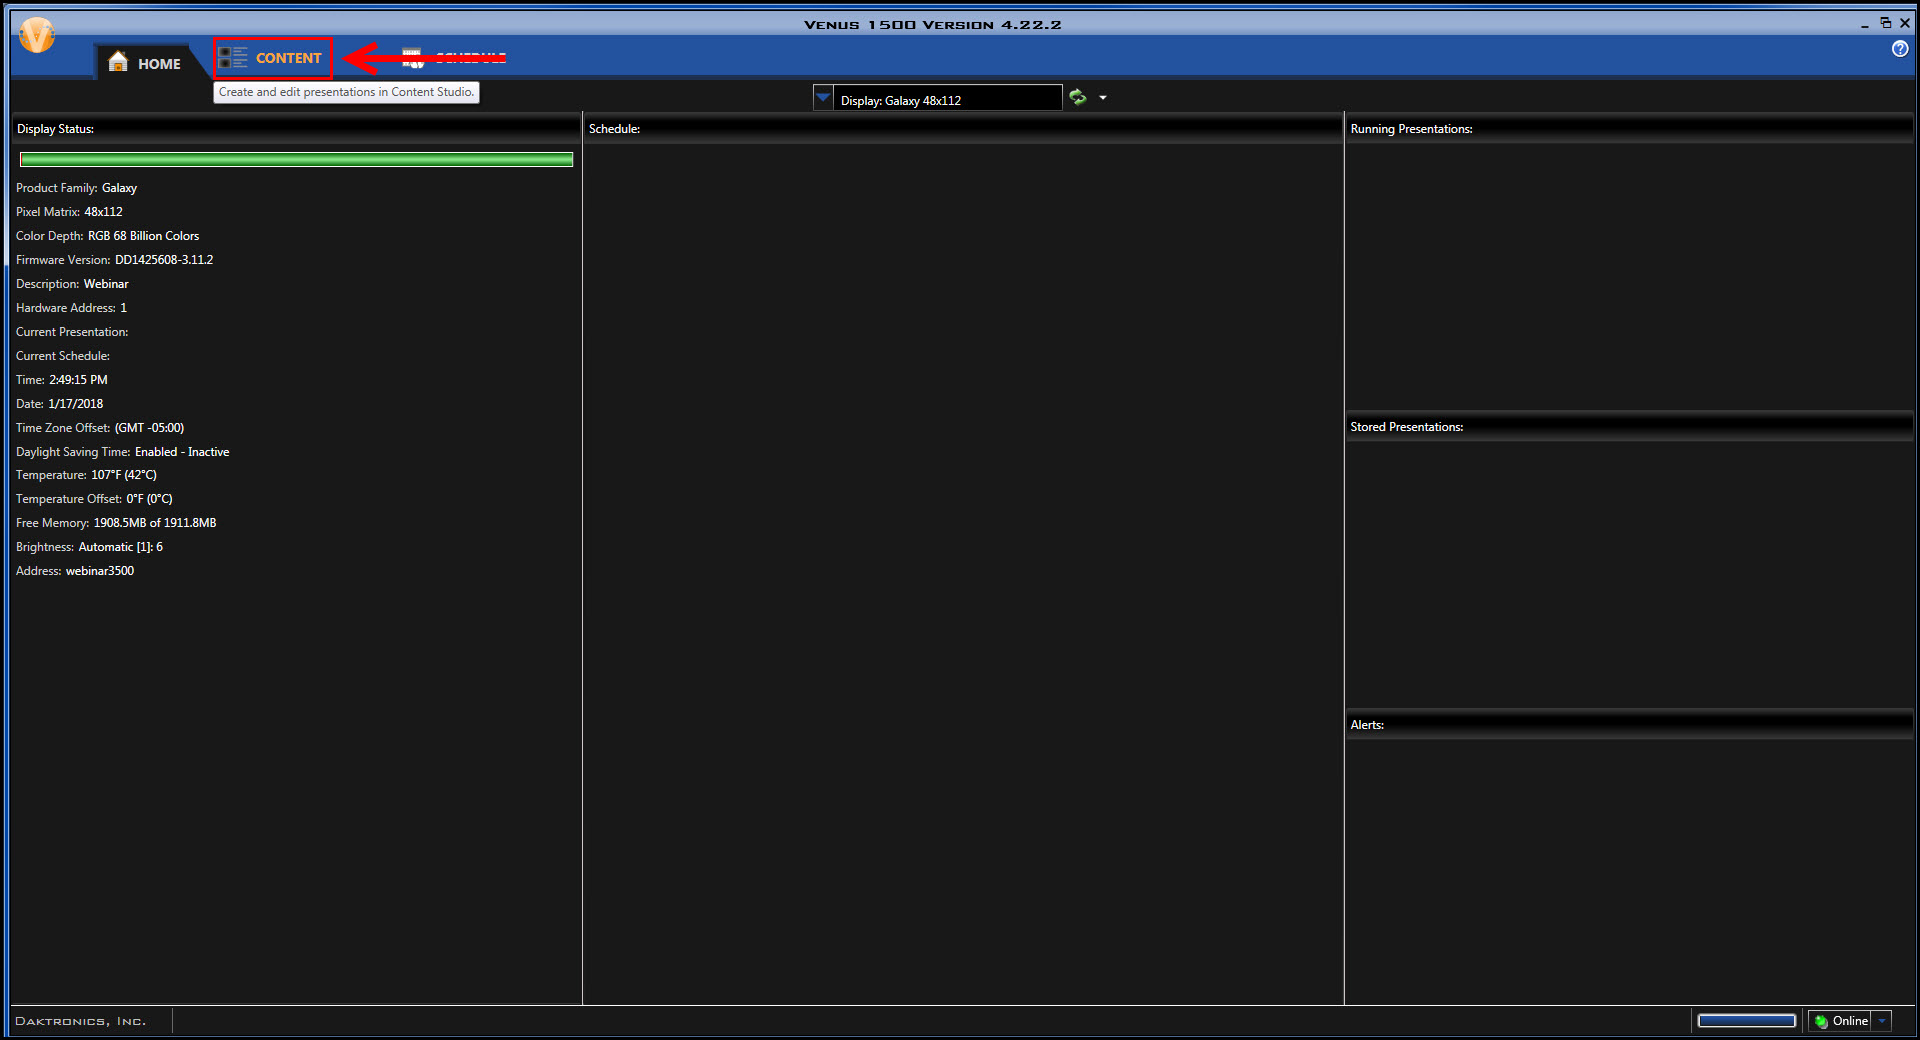
Welcome back to the blog, everyone! We posted about the Home Tab in the Venus 1500 Hub last year (see below). Today, we will begin a new series that focuses on the other tabs in the Venus 1500 Hub, as well as all the tabs in Content Studio.
This series will teach you about all the different features and tools available within those tabs, and how to use them to their fullest capability.
- Home Sweet Home Tab: Online Vs. Offline Status Indicator
- Home Sweet Home Tab II: Alerts and the Progress Bar
- Home Sweet Home Tab III: Scheduled Playlists and Running/Stored Presentations
- Home Sweet Home Tab IV: Display Selection, Status and Tools
In addition to the Home Tab, you will also be able to access the Content Tab and the Schedule Tab in the Venus 1500 Hub. Both tabs provide you with tools necessary to create and schedule messages. Let’s take a closer look at each tab and what they offer, shall we?
Content Tab
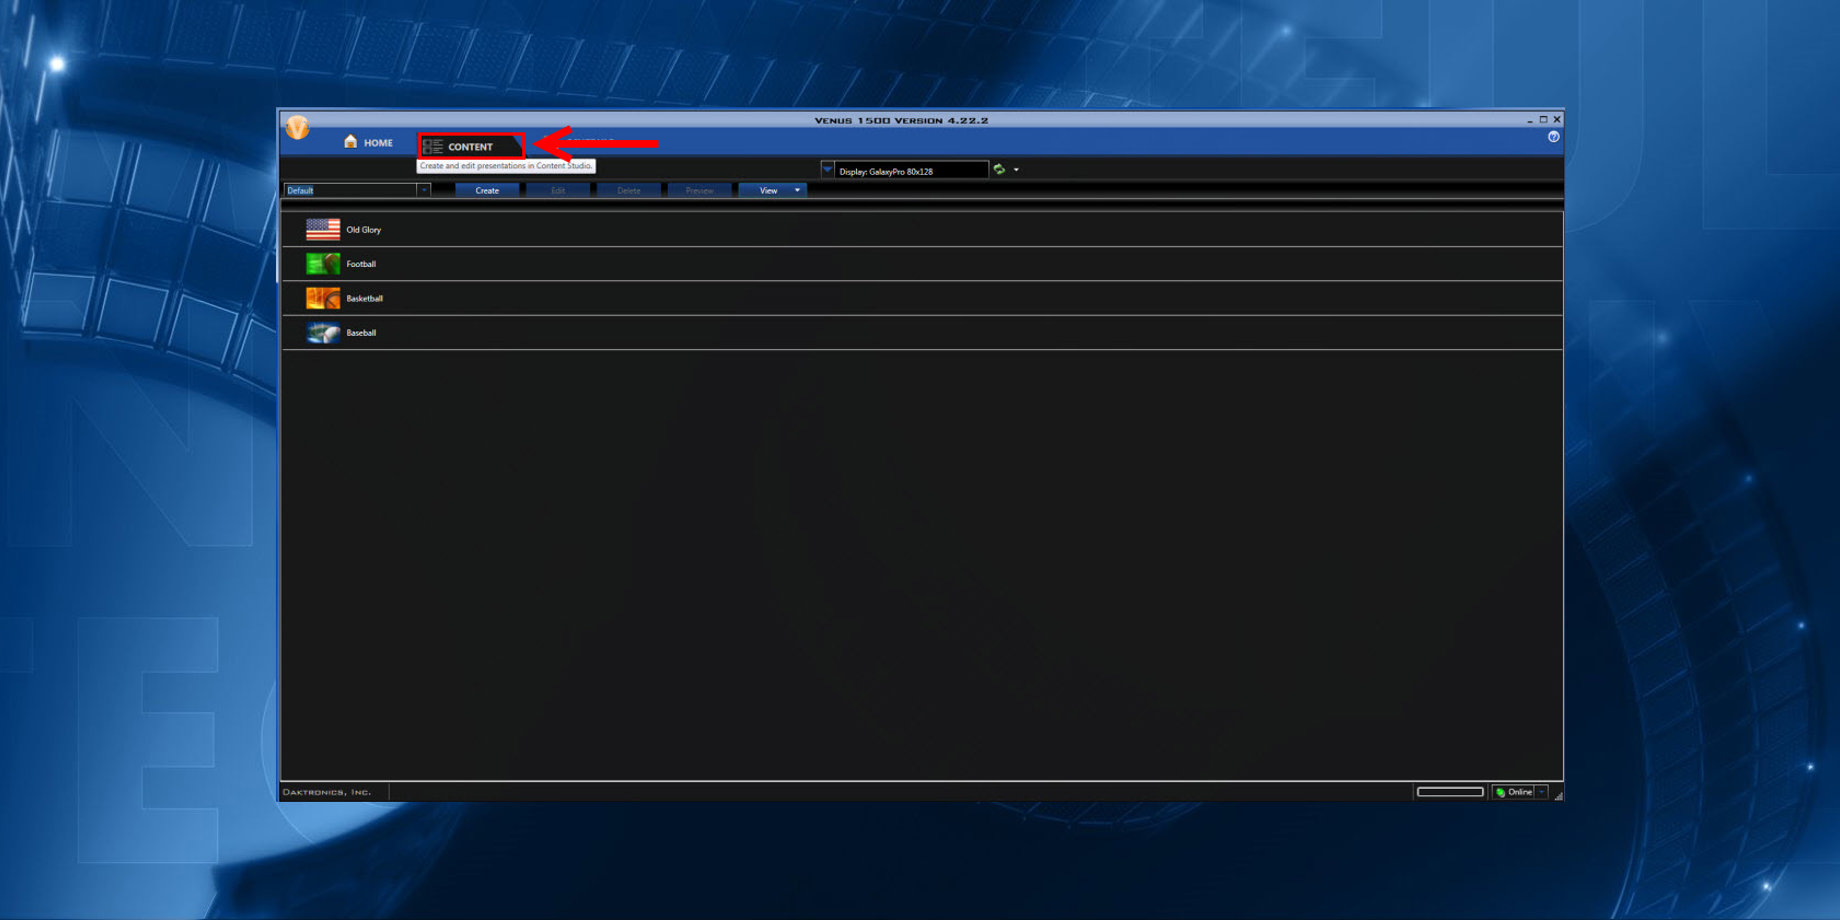
The Content Tab is found in the upper-left quadrant of Venus 1500 V4, directly between the Home Tab and the Schedule Tab. Clicking on the Content Tab gives you access to all your previously created content, as well as Content Studio, where you can create new content and edit existing content.
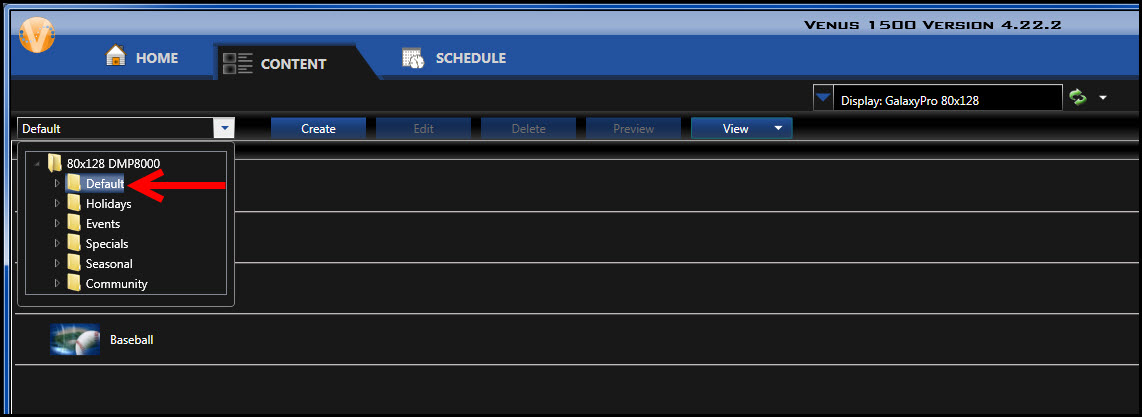
Find your previously created content by clicking on the Dropdown Menu to the left of the blue Create button. Any content you have not saved into a folder will appear immediately.

To access content from your created folders, simply click the dropdown arrow and then click on a folder. You will automatically have a Default folder when you first download Venus 1500 V4, but you will have to create additional folders to help organize your content.
You can also change how your created content will appear in the Content Tab. Simply click on the blue View button to the right of the blue Create button, toward the top, near the middle of your screen.
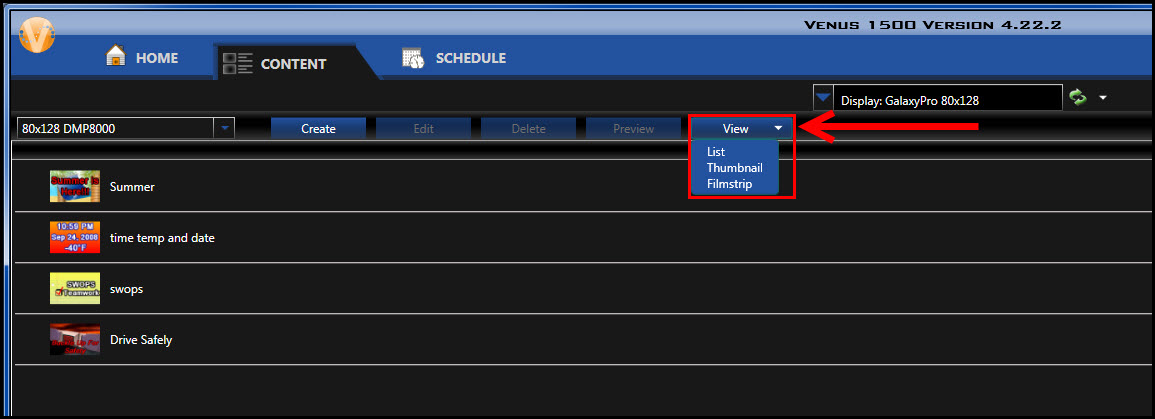
This dropdown menu will let you choose from a List view, a Thumbnail view and a Filmstrip view. The List view is the default setting upon installation and will show you all your presentations listed out in the order they were created, running along the left side of your screen, from top to bottom.
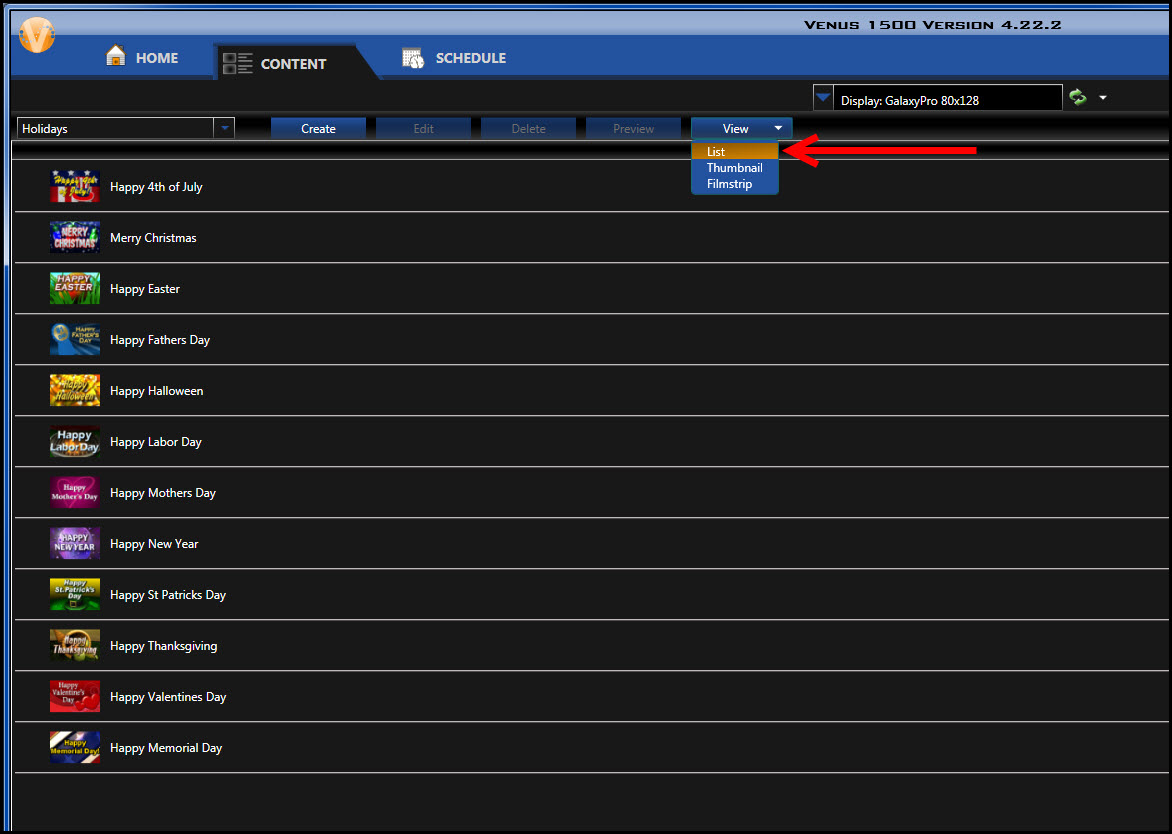
The Thumbnail view allows you to see a larger thumbnail preview of all your created content.

Finally, the Filmstrip view lets you see a nice, big preview of the selected (click on it!) presentation. Along with file information like the file name, you’ll see when it was last modified and who modified it, as well as the file size and duration.
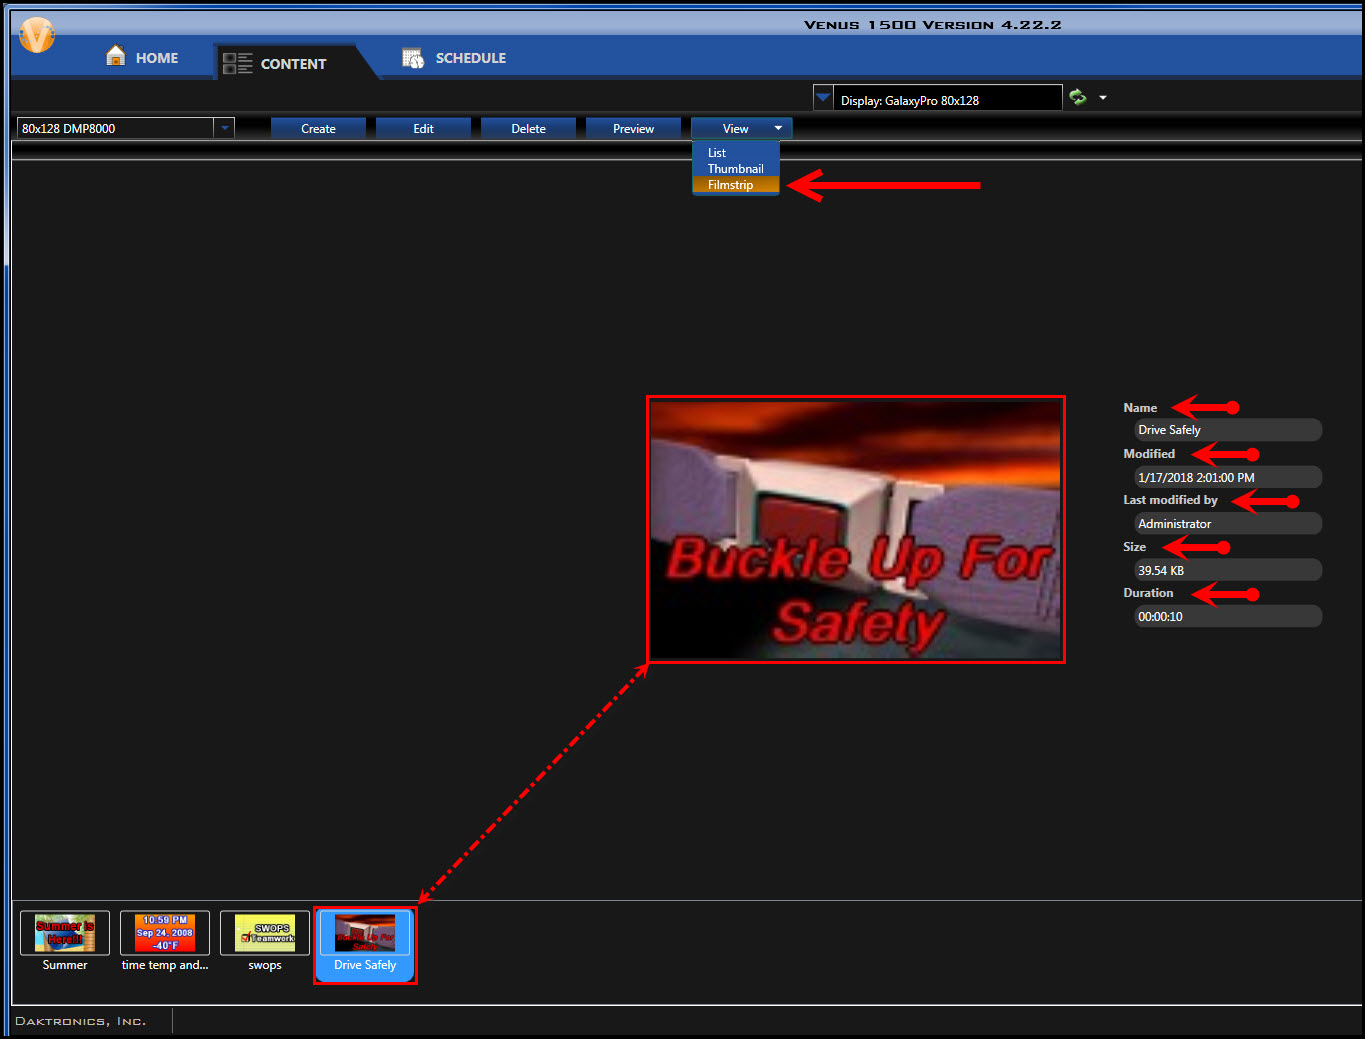
Regardless of what View you are in, you can click on any file within your Content Tab to highlight it (blue) and then either Edit, Delete or Preview the file. Find the blue Edit, Delete and Preview buttons right between the Create and View tabs on the top of your screen. These buttons will only be available to click on once you have highlighted a file.


The Preview feature allows you to watch the entire selected presentation from beginning to end, including any animations or videos that you might have contained within it. The Preview window itself has Plus [+] and Minus [-] buttons in the bottom left corner that you can click on to zoom in or out during the preview. You can also find Pause and Stop buttons on the bottom of the Preview Window.

We’ve mentioned the Create button a few times throughout the blog now, so let’s go ahead and talk about it! Find the blue Create button to the left of the blue Edit button towards the top left area of your screen.
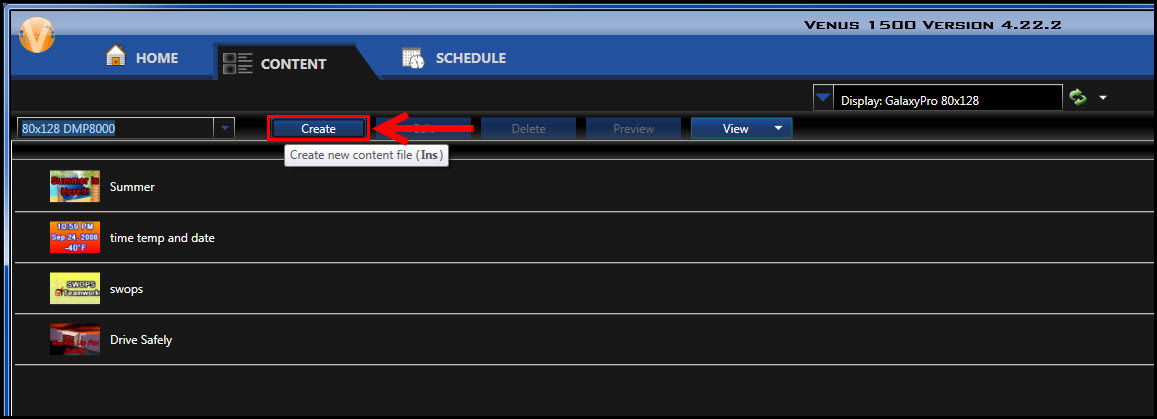
Each time you click on the Create button, it will open a new session of Content Studio. Content Studio is the other half of Venus 1500 V4, along with the Venus 1500 Hub. Content Studio is where you will create new presentations and edit existing presentations for your Daktronics display.
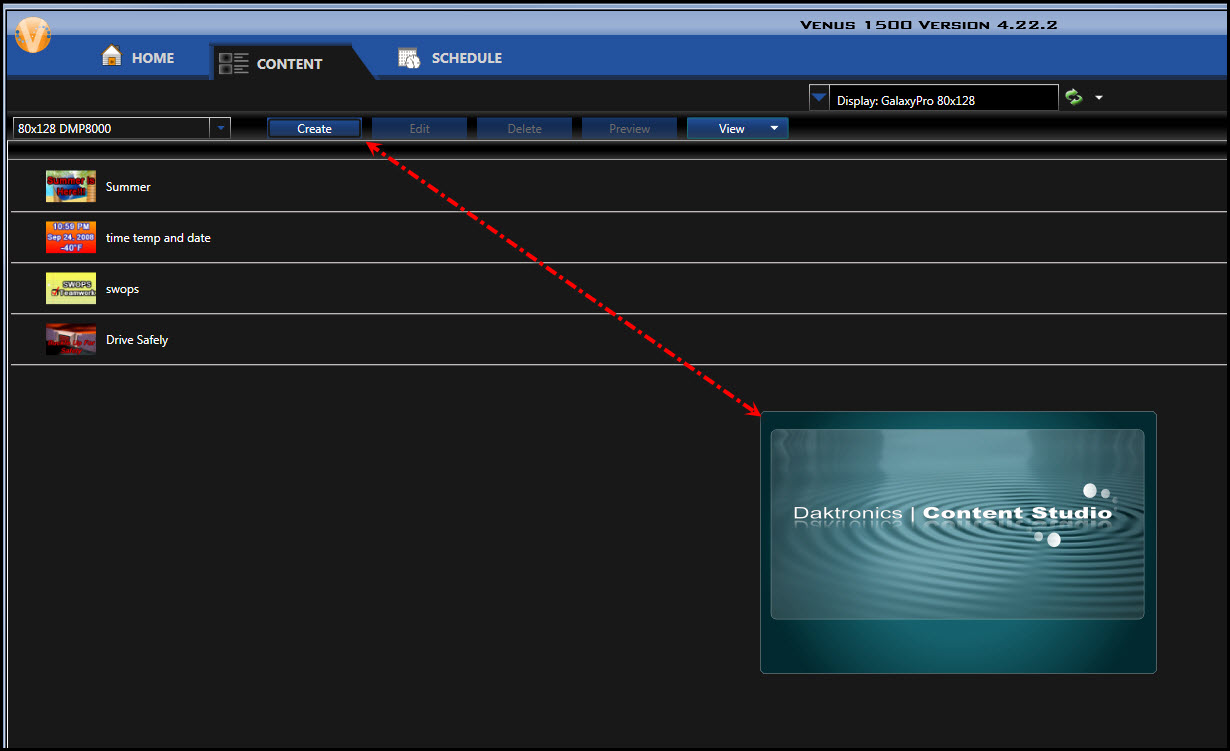
We will go more in depth with Content Studio and all of its tabs as we progress further through this series, so be sure to stay tuned! Before we get into Content Studio we will be discussing the Schedule Tab in the Venus 1500 Hub, so you will definitely want to tune in next time to learn all about that!
Thank You
We hope you found this walkthrough of the Content Tab helpful! Be sure to click on the links included throughout the blog for step-by-step instructions on how to do things like create folders, organize your content and utilize the preview feature.
If you find our blog useful, please click on the orange “Receive Email Updates” button on the right side of the page to Subscribe. Thanks for reading!
